
Codex Integration Guide
Configure Codex and OpenAI-compatible clients through the Encore gateway.
This page explains how to connect Codex through the Encore gateway by using OpenAI-compatible configuration.
Typical Use Cases
- Using Codex with
config.toml - Using OpenAI-compatible SDKs
- Switching Codex traffic to the Encore gateway
Codex Configuration Example
model = "gpt-5.4"
openai_base_url = "https://api.stillhappy.cn/v1"
forced_login_method = "api"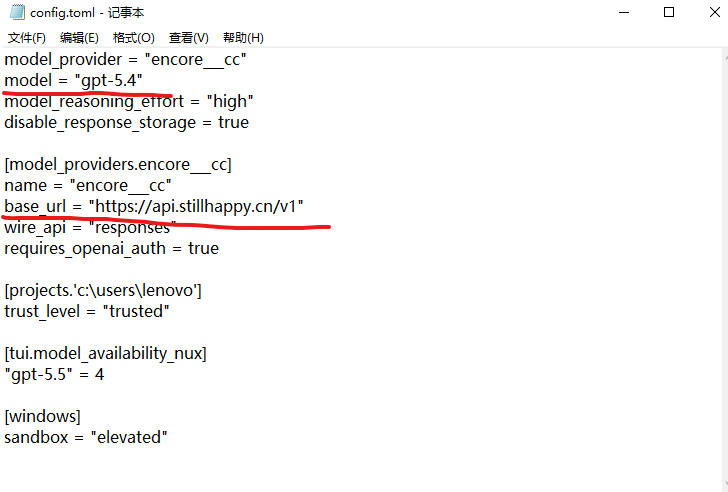
For the API key, edit auth.toml:
"OPENAI_API_KEY": YOUR_API_KEY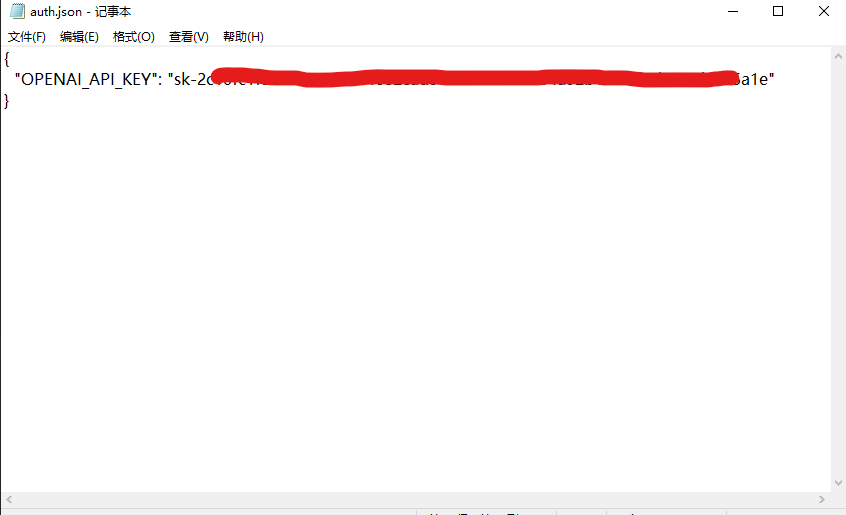
Important Notes
openai_base_urlmust include the/v1suffix- Use
forced_login_method = "api"to skip ChatGPT web/OAuth login - Restart Codex completely after editing the config
OpenAI-Compatible Python Example
from openai import OpenAI

client = OpenAI(
    api_key="YOUR_API_KEY",
    base_url="https://api.stillhappy.cn/v1",
)

response = client.responses.create(
    model="gpt-5.2-codex",
    input="Write a short Python function that sorts a list.",
)

print(response)
OpenAI-Compatible JavaScript Example
import OpenAI from "openai";

const client = new OpenAI({
  apiKey: "YOUR_API_KEY",
  baseURL: "https://api.stillhappy.cn/v1",
});

const response = await client.responses.create({
  model: "gpt-5.2-codex",
  input: "Write a short TypeScript helper to merge arrays.",
});

console.log(response);
Verification
After configuration, verify:
- requests are sent to
api.stillhappy.cn - the configured model is available through Encore
- authentication succeeds with your Encore API key
Latest Model (GPT-5.5) via Codex
If you want to use Codex CLI with GPT-5.5, here's the Windows setup (macOS / Linux are similar).
Windows
1) Install Node.js
Use winget to install the LTS version:
winget install OpenJS.NodeJS.LTSAfter installation, verify:
node --version
npm --version
2) Install Codex CLI
In PowerShell or CMD:
npm install -g @openai/codexVerify:
codex --version3) Configure Codex
Config directory on Windows:
%USERPROFILE%\.codexConfig file path:
%USERPROFILE%\.codex\config.json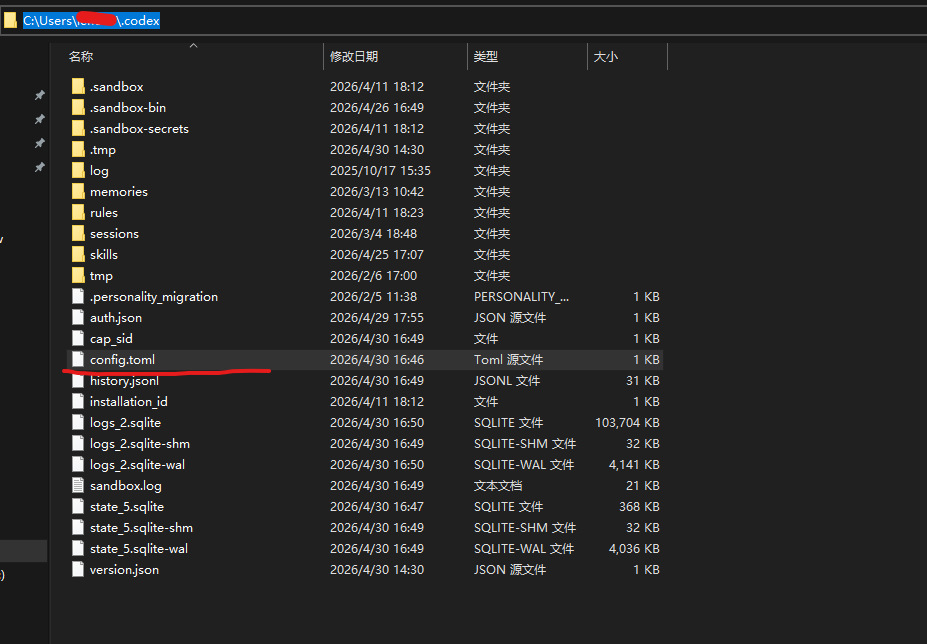
Write into config.json:
model_provider = "encore___cc"
model = "gpt-5.5"
model_reasoning_effort = "high"
disable_response_storage = true
forced_login_method = "api"

[model_providers.encore___cc]
name = "encore___cc"
base_url = "https://api.stillhappy.cn/v1"
wire_api = "responses"
requires_openai_auth = true

[projects.'c:\users\lenovo']
trust_level = "trusted"

[tui.model_availability_nux]
"gpt-5.5" = 4

[windows]
sandbox = "elevated"
Note: Inside
[model_providers.xxx]blocks, the field isbase_url(notopenai_base_url). The top-level Codex config still usesopenai_base_url.
If you can already use other models (like gpt-5.4), you only need to change model = "gpt-5.5" to make GPT-5.5 the default.
Save and restart Codex.
For macOS / Linux, the steps are similar but the config directory is ~/.codex/.